Resetting password on a Windows machine like an Acer laptop can be a harrowing experience if you don't know what you're doing. However, if you have the right tools and techniques, there's no reason for you to re-install Windows or even do a factory reset and lose all your precious data. Here are three ways to easily reset Acer laptop password no matter how strong it is.
If you knew the current password, then resetting user password is merely a question of knowing where to go in your settings and changing it to a new one. However, you need to know where to go and what to do in order to accomplish this. Since you have an admin account and know the password, the first step is to log into your Acer laptop. Once you're in, follow the steps described below:
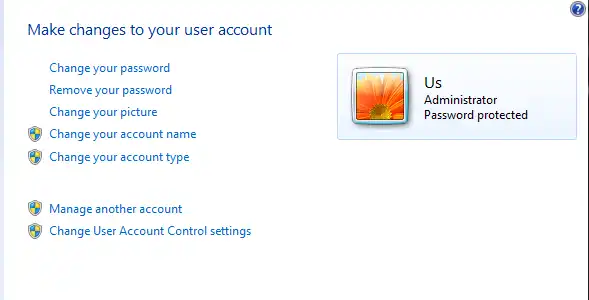
Step 1: First, go to Start > Control Panel > User Account and Family Safety, and then select a user account for which you want to reset the password.
Step 2: Choose the option to change the password, then input a new password twice. Confirm the changes and exit.

Step 3: Log out of the admin account and login to the user account using the new password.
This method works by using administrator privileges to change the account details of a particular user. You can also change the password for a different admin account using this method, assuming there is more than one. It can not be used if you're using a Microsoft account since it is only meant for local accounts on that laptop.
A password reset disk is a recovery utility that you can use when you have forgotten the password. You will need to know the password in order to create one, so the disk must necessarily be created before you lose or forgot the password, or else it will not work. The reset disk allows you to bypass the login screen and access the account in question without having to use any password, which is why it is so convenient to have. Once you have the password reset disk ready, execute the steps below on your Acer laptop:
Step 1: Startup your laptop and come to the login screen. Now insert the password reset disk and click on the Reset Password link on that screen.
Step 2: Your computer should now launch the Password Reset Wizard, where you will be taken through a few steps before you can change the password. Just follow the instructions you see on the screen.
Step 3: When prompted, enter the new password twice and add a password hint. Since you're using the reset disk, you will not be required to authenticate the change.
Step 4: Remove the disk and restart your laptop. You can now access the locked account with the new password.

These two methods work when you either know the current password or have created a reset disk in advance. But what if you forgot the password and don't have a disk ready? Fortunately, there are powerful third-party recovery software you can use to unlock the device.
The third option in this post is using professional Windows password recovery software like PassGeeker. It is a professional password reset utility that works on all types of Windows passwords including local user and admin, Server admin and even Microsoft accounts. The best part is that you don't have to create it beforehand. Simply create the disk on a different computer, and then use that to unlock your Acer laptop.
The PassGeeker software is fully tested on all the top PC brands including Dell, Samsung, Lenovo, HP, ASUS and more. In addition, you can create the disk on a physical DVD/CD or just use a USB pen drive, which makes it really convenient. It involves a simple three-step process that we have outlined for you below:
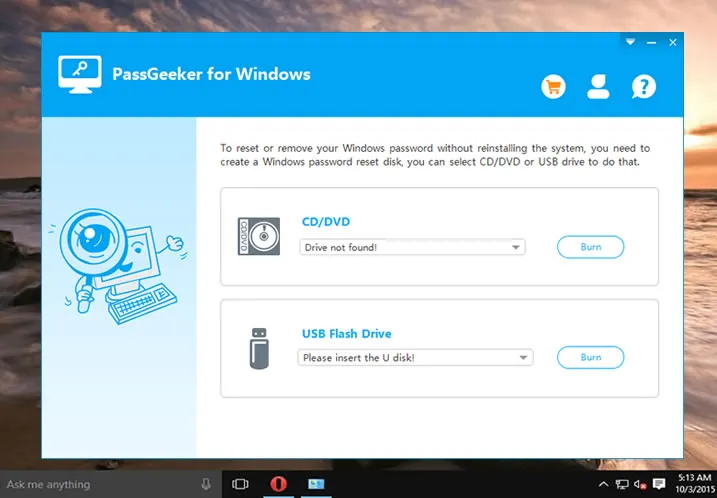
Step 1: On a different PC, login to an account with admin rights and download the PassGeeker software. Install the application, insert a USB drive and launch the software. The drive will be automatically detected by the software, and will be displayed on the screen. Click on the Burn option next to the appropriate storage media type and wait for the password reset disk to be created.
Download Now Download Now
Step 2: Remove the drive from the second PC and insert it into your locked Acer machine. Now boot from it by going to the BIOS Setup Utility menu (press F2 or other special key during boot up) and changing the boot order so the laptop boots from this disk and not the native Windows files on your hard drive.

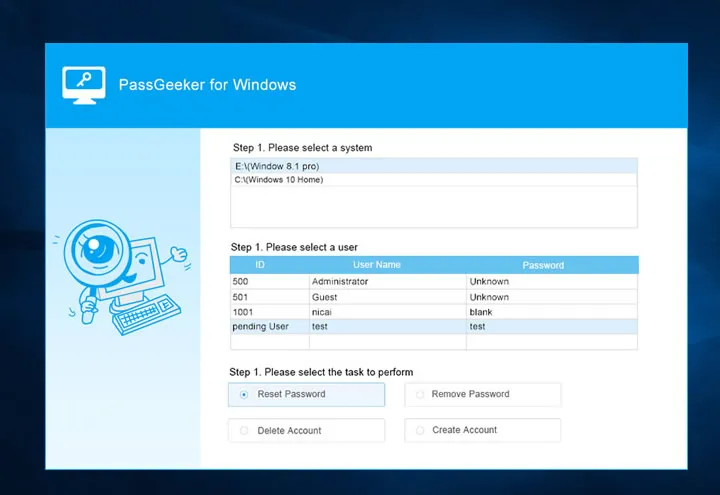
Step 3: Just select your Windows version from the list of ISO files, and choose the user account to be unlocked. Hit Reset Password and the password for that account will be instantly blanked. Remove the drive and restart your laptop normally. The locked user account will not require a password to log into.

Keep this disk handy because it can reset a password multiple times for that computer. Whenever you forget the password, you can use it to blank the password and gain access to any account. The best part about using this software is that it can even unlock a Microsoft account for which the password has been forgotten. However, store it in a safe place because anyone will be able to unlock your computer using the drive.