If you had any question in using PassGeeker for Windows, then here is the right place for help. In below, we will provide detailed instructions for all features, including resetting Windows password, removing Windows password, adding new account and deleting account. Don't hesitate to contact us if you could not find the answer to your question.
Welcome to PassGeeker for Windows online tutorial! You will find all information about this software within this page. Before getting started, please download a copy of trial version first and test it on your work. If this software managed to detect all user accounts on locked computer, then you can purchase a license code to unlock the features that are not available in trial version.
| Function | Burn USB | Burn DVD | List Accounts | Reset & Remove Password | Delete & Create Account |
| Trial | |||||
| Registered |
Please find another computer and click the above download button to get the installation .exe from PassGeeker website. Follow the instructions and create a new desktop shortcut during installation process. You will see the program interface once the process is finished.

You can proceed without registration to check if PassGeeker for Windows could find all user accounts on a locked computer. If yes, then you should purchase a license code to activate the program. You will see a prompt like this during the burning process. After purchase, you will receive a confirmation email and input it for registration.
A password reset disk is a special type of media device that can be used to reset or remove password from a local Windows account. You can do this with a USB flash drive or DVD.
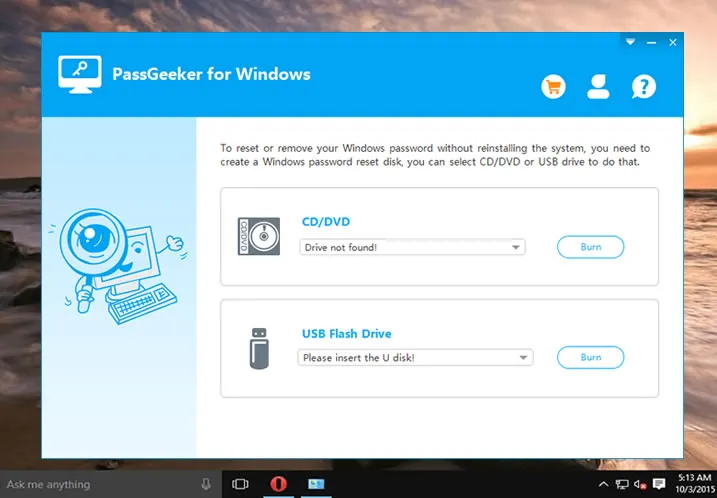
Now, open PassGeeker for Windows and insert an USB or DVD into the same computer. In here, we will use USB as example. Please don't worry; the steps are the same for DVD disc. Next, click "Burn" button to create a password reset disk. This will take 3-5 minutes. After that, eject the USB and insert it into password-forget computer.
In default, the computer will boot from local drive. In order to use the password reset disk created by PassGeeker for Windows, you have to set the computer booting from external USB. This can be done with the help of Boot menu.
Reboot locked Windows computer and press the boot key immediately to open the boot menu option. The key is different for brands to brands. And it will be displayed on screen when the first screen appears. Usually, it is F12, Esc, F9 or F8. And pick up the USB name use arrow key. After that, the computer boots from the USB you just inserted.
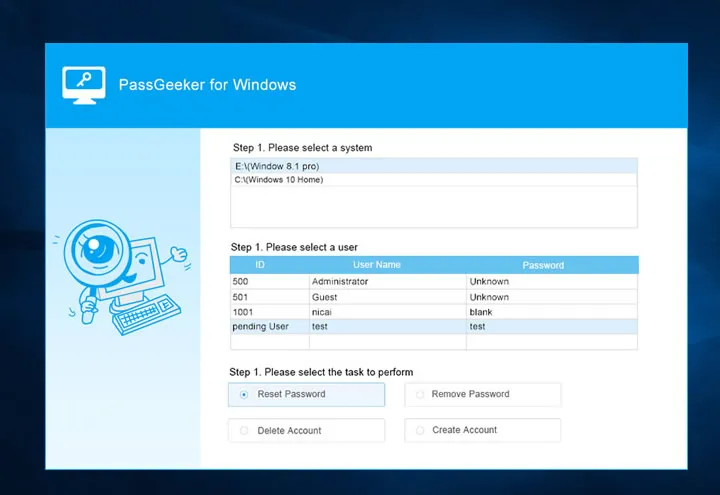
Once the computer boots from the USB flash drive, you will see PassGeeker software showing up on the screen. From there, all users on that computer are listed in order.

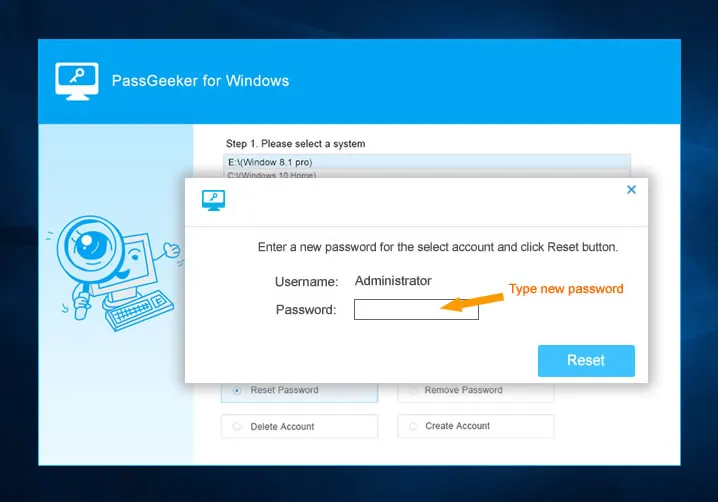
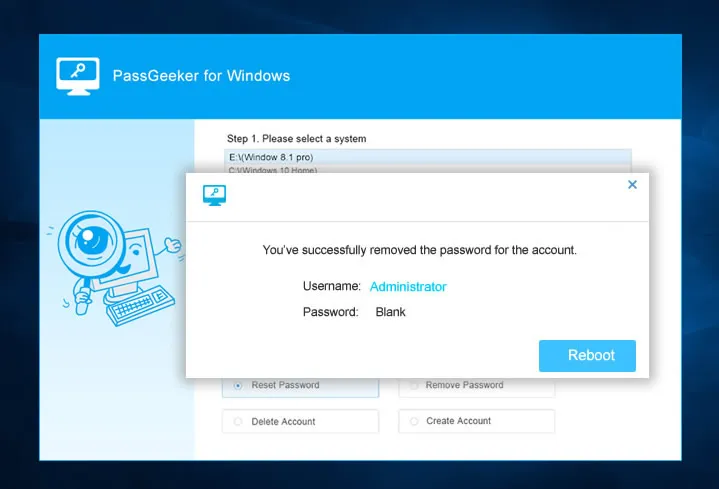
Now, click one user name and click "Reset Password" button. Then a small window pops up and you need to type a new password in this step. Once it is completed, reboot the computer and you can use the new password for login.

You will see "Remove Password" button at the task menu below user table when the computer boots from password reset disk.

If you want to delete password from Windows user account and don't want to use password any more, please click "Remove Password" option. This action will set the old password to blank. And the computer will no long ask for password during at login window.

The password will be deleted at the same time if you chose to delete a user account using "Delete Account" option from PassGeeker for Windows. However, be careful with this option as the data associated with this account is also going to be deleted, too.
You can create a new administrator account for login with "Create Account" option in PassGeeker for Windows. By applying this action, a new user will be added to the locked computer. After that, you can use the new user name and password for login.